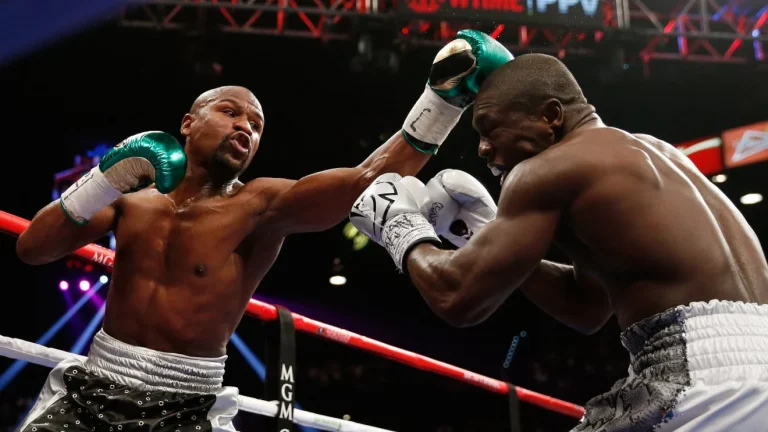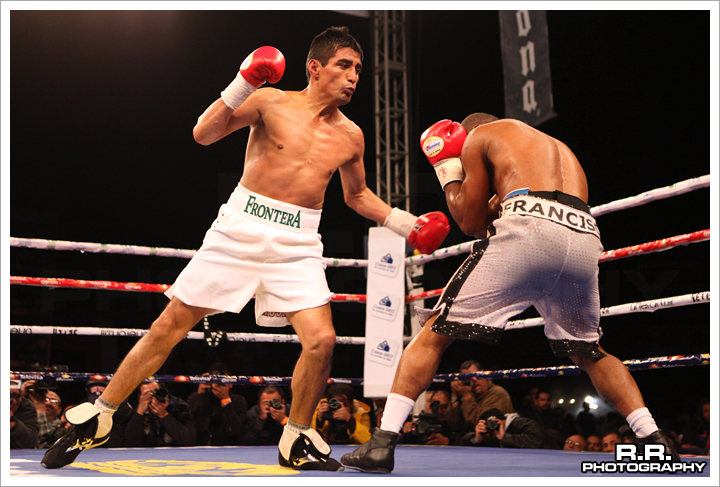

The Philly shell is boxing’s ultimate “cool kid” stance—leaning back, hands low, looking like you’re waiting for a bus while dodging punches. Made famous by legends like Floyd Mayweather Jr., James Toney, and Pernell Whitaker, this defensive style isn’t just flashy; it’s effective. Mastering it requires precision, timing, and the right combinations to turn defense into offense.
In this guide, you’ll learn 20 Philly shell boxing combinations (including eight new ones you won’t find elsewhere), the history of this iconic stance, how to use shoulder roll defense like a pro, and why this style could save your face and win rounds. Let’s get you fighting smarter, not harder.
The Origins of the Philly Shell: A Nod to Philadelphia’s Boxing Legacy
Before we dive into combos, let’s pay homage to the roots. The Philly shell originated in—you guessed it—Philadelphia, where fighters like Joe Frazier and Bennie Briscoe honed its defensive quirks in smoky gyms during the 1960s-70s. Unlike the traditional high guard, this stance prioritized efficiency, using angles and shoulder blocks to conserve energy during long bouts.
Why “shell”? Imagine a turtle retracting into its shell: your lead shoulder becomes armor, your torso twists to deflect punches, and your hands stay low to bait opponents into making mistakes. It’s chess, not checkers.
What Makes the Philly Shell Work? Breaking Down the Mechanics
The Philly shell (aka the “shoulder roll”) relies on three pillars. Let’s dissect each:
1. The Shoulder Roll: Your Built-In Shield
Your lead shoulder isn’t just for shrugging off bad takes at the bar. In the Philly shell, it’s your primary defense against jabs and straights. Tilt your torso slightly forward, tuck your chin behind the shoulder, and let punches glance off the bone.
Pro Tip: Angle your shoulder upward to deflect shots toward your forehead, not your nose. Pair this with a slight lean back to maximize distance management.
Drill: Practice rolling against a double-end bag. Have a partner throw slow jabs while you focus on deflecting them with your shoulder—not your hands.
2. Weight Distribution: Stay Light, Stay Slippery
60-70% of your weight should rest on your back foot. This lets you pivot away from hooks, slide out of range, or explode forward with counters. Think of your back leg as a spring: loaded and ready.
Common Mistake: Leaning too far back turns you into a stationary target. Stay balanced enough to shift directions instantly.
3. Angles: The Art of Being Annoyingly Evasive
Never stand square to your opponent. Rotate your torso 30-45 degrees to present a smaller target. This also sets up your counterpunches. For example:
- If you’re in an orthodox stance (left foot forward), angle your right shoulder toward the opponent.
- When they throw a right cross, pivot left to make them whiff, then fire a counter right hook.
Drill: Place tape on the floor at a 45-degree angle. Shadowbox while staying within the lines to ingrain proper positioning.
Philly Shell Pros & Cons: Is This Stance Right for You?
Pros:
- Energy Efficiency: Perfect for outlasting aggressive opponents (see Mayweather vs. Pacquiao).
- Counterpunching Goldmine: Bait opponents into overcommitting, then punish them.
- Confidence Booster: Nothing demoralizes a rival like dodging their “best shot” with minimal effort.
Cons:
- Body Shot Vulnerability: If your elbow isn’t glued to your ribs, expect a liver shot souvenir.
- Steep Learning Curve: Requires Jedi-level reflexes and spatial awareness.
- Reach Dependency: Shorter fighters (under 5’8”) may struggle against longer opponents.
Workaround for Shorter Fighters: Use the Philly shell in bursts. When closing the distance, transition to a high guard, then shift back to counter.
20 Philly Shell Combinations to Add to Your Arsenal
Mix defense with offense using these combos, ranked from basic to advanced. Each includes setup tips and film-study examples.
Section 1: Defensive Counters (“Make Them Miss, Make Them Pay”)
These combos capitalize on opponents’ aggression.
- Shoulder Roll → Straight Right → Slip Left → Left Hook
- Steps: Block a jab with your shoulder, fire a straight right to the chin, slip the incoming counter left, then land a left hook to the liver.
- When to Use: Against opponents who lead with lazy jabs.
- Pro Example: Floyd Mayweather Jr. used this to dismantle Ricky Hatton.
- Roll Under Right Hook → Right Uppercut → Left Hook
- Steps: Duck under a wild right hook, rise with a right uppercut to the chin, then finish with a left hook to the temple.
- Key Detail: Roll toward your opponent to stay in punching range.
- Catch Jab → Lead Body Hook → Rear Uppercut
- Steps: Trap their jab with your rear hand, dig a left hook to the ribs, then launch a rear uppercut as they drop their hands.
- Training Tip: Use focus mitts to practice catching and countering in one motion.
- Slip Right → Overhand Right → Step-Back Left Hook
- Steps: Slip outside a straight right, throw a looping overhand right, then step back with a left hook to deter chasing.
- Common Mistake: Over-rotating on the slip—keep your eyes on the target!
- Deflect Lead Hook → Right Cross → Left Body Shot
- Steps: Use your forearm to redirect a lead hook, counter with a right cross, then drop their guard with a left body shot.
- Footwork: Pivot right after the cross to create an angle.
Section 2: Offensive Combos (When It’s Time to Bite)
Switch from defender to aggressor with these sequences.
- Jab → Right Cross → Roll → Left Uppercut
- Steps: Feint a jab to draw a reaction, throw a right cross, roll under their counter, then uppercut with your left.
- Pro Example: James Toney’s signature combo against Iran Barkley.
- Lead Body Jab → Right Hook → Slip → Left Straight
- Steps: Soften them with a body jab, hook to the head, slip their right hand, then land a left straight.
- Why It Works: Body shots lower their hands, exposing the chin.
- Double Jab → Right Straight → Pivot Out
- Steps: Use double jabs to close distance, land a right straight, then pivot left to exit safely.
- Training Tip: Add a feint after the second jab to keep them guessing.
- Feint Right → Left Hook → Roll → Right Cross
- Steps: Fake a right cross to draw a block, hook left, roll under their counter, then finish with a right cross.
- Key Detail: Sell the feint by dropping your lead shoulder.
- Step-In Jab → Right Uppercut → Left Hook
- Steps: Step forward with a jab to disrupt their rhythm, follow with a right uppercut, then a left hook.
- When to Use: Against taller opponents who fight at range.
Section 3: Advanced Combos (For the Tactical Showboats)
Impress your coach (and annoy your sparring partners) with these gems.
- Roll → Left Uppercut → Right Hook → Spin Escape
- Steps: Roll off a jab, throw a left uppercut and right hook, then spin 180 degrees to reset.
- Pro Example: Roy Jones Jr.’s flair against Vinny Pazienza.
- Slip → Liver Shot → Right Cross → Clinch
- Steps: Slip a jab, crush their liver with a left hook, land a right cross, then clinch to smother their counter.
- Why It Works: The clinch prevents retaliation and drains their stamina.
- Shoulder Roll → Step-Through Right → Left Body Hook
- Steps: Deflect a jab with your shoulder, step through with a right straight, then rip a left hook to the body.
- Footwork: Stepping through adds power to your right hand.
- Catch-and-Pitch Counter → Right Straight → Left Uppercut
- Steps: Catch their jab with your rear hand, immediately throw a right straight, then a left uppercut.
- Training Tip: Use a slip rope to improve catch-and-counter timing.
- Slip Left → Right Cross → Left Hook → Right Hook
- Steps: Slip outside a right cross, counter with your own right, then unleash left-right hooks.
- Key Detail: Keep your hooks tight to avoid overextending.
Section 4: Body Shot Combos (The Silent Fight Enders)
Target the ribs, liver, and solar plexus to sap their will to live.
- Jab → Right to the Ribs → Left Hook
- Steps: Distract with a jab, drop a right hand to the ribs, then hook high.
- Why It Works: They’ll drop their hands to protect the body, leaving the chin open.
- Left Hook Body → Right Uppercut → Left Hook Head
- Steps: Dig a left hook to the liver, lift with a right uppercut, then hook the head.
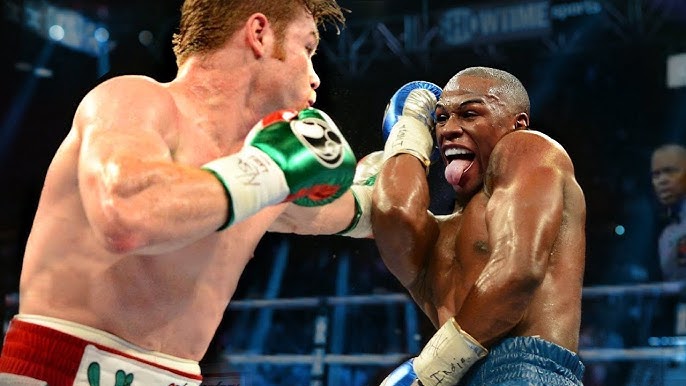
- Pro Example: Canelo Álvarez’s body-head combos against Billy Joe Saunders.
- Body Jab → Roll → Right Hook to Liver
- Steps: Jab the stomach, roll under their counter, then hook the liver.
- Training Tip: Practice rolling immediately after the jab—no hesitation.
- Double Body Shot → Right Cross
- Steps: Land a left hook + right hook to the body, then cross upstairs.
- When to Use: Against opponents with a high guard.
- Slip → Left Body Uppercut → Right Cross
- Steps: Slip a punch, drive a left uppercut into the solar plexus, then cross to the chin.
- Key Detail: Bend your knees to generate power for the uppercut.
Philly Shell Training Tips: Drills to Sharpen Your Skills
- Footwork First:
- Use a reaction ball to improve agility. Toss it against a wall and pivot/shuffle as you catch it.
- Drill angles with cone markers. Move around them while maintaining your stance.
- Spar Lightly:
- Start at 50% speed to focus on timing. Gradually increase intensity as you gain confidence.
- Film Study:
- Watch breakdowns of Mayweather’s shoulder roll for technical insights.
- Conditioning:
- Strengthen your obliques and core with Russian twists and weighted side bends—critical for absorbing body shots.
Common Philly Shell Mistakes (And How to Fix Them)
- Mistake #1: Dropping the rear hand.
- Fix: Keep your rear hand at cheek level to block hooks.
- Mistake #2: Standing too upright.
- Fix: Slightly bend your knees and hinge at the hips for better mobility.
- Mistake #3: Overusing the shoulder roll.
- Fix: Mix slips, ducks, and high-guard blocks to stay unpredictable.
FAQ: Your Philly Shell Questions, Answered
Q: Is the Philly Shell good for beginners?
A: It’s advanced. Master the basics (footwork, high guard) first.
Q: How do I transition from high guard to Philly Shell mid-fight?
A: Use feints to create space, then shift your weight and shoulder position during their reset.
Q: Can I use the Philly Shell in MMA or street fights?
A: Not recommended. Kicks and takedowns exploit its vulnerabilities.
Is the Philly Shell Worth Learning?
Yes—if you’re willing to drill until your shoulder is your shield. Pair these 20 combinations with sharp footwork, and you’ll turn opponents’ aggression into their biggest weakness.
Remember: The Philly shell isn’t magic. It’s math. Angles + timing = less damage taken, more counters landed. Now get out there and make them miss, then make them pay.
Got a question? Drop it in the comments—we’ll answer it in our next breakdown!
Read more:
Sport Jiu-Jitsu vs. Traditional Jiu-Jitsu: Which Grappling Style Suits You?
10 Must-Know Wrestling Moves for MMA Fighters (Dominate the Ground Game)
15 Basic Boxing Combos Every Beginner Must Master (Win More Fights!)
Monetizing Your Martial Arts Skillset in the Gig Economy