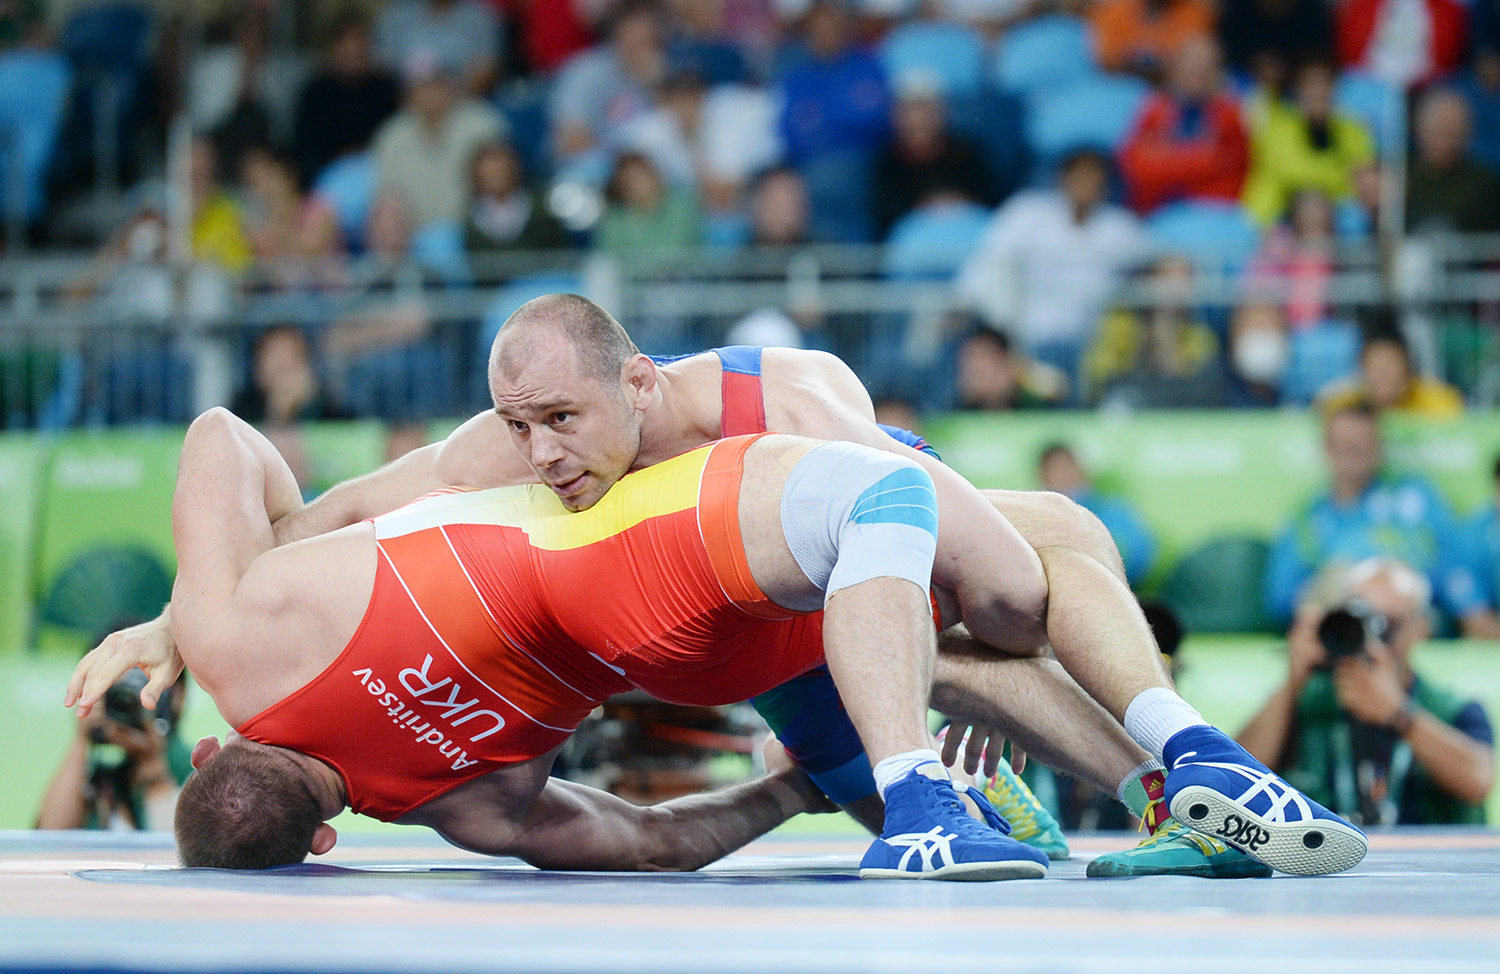
You want practical moves for wrestling that help you stay safe. That’s precisely what this guide does. Below you’ll find 20 proven techniques, a clear explanation of how each technique works, what makes it effective (and what its limits are), step-by-step drilling recommendations, solo drill variations you can do at home, and safety/legal notes. Read the quick reference first, then skip to the moves that matter most to you.
Why wrestling matters for self-defense
Wrestling teaches you how to control an opponent’s body in close quarters. That matters more than punching power in many real-world confrontations. You’ll learn to take someone off balance, neutralize strikes by closing distance, and escape from bad positions. Many of the following techniques are moves for wrestling you can practice solo or with a partner; some are ideal for easy wrestling moves for self-defense at home.
Two study points worth noting up front: the double-leg takedown is one of the highest-percentage takedowns in wrestling (it’s a fundamental technique taught in elite programs). And the sprawl is the single best takedown defense—drill both until they become part of your muscle memory so you can execute them regardless of your mental state if forced to defend yourself or loved ones.
How to read each entry
For each move you’ll get:
- Name
- How it works — basic mechanics, in plain English
- Effectiveness — when it works well and its limits
- Step-by-step drill — partner and solo practice suggestions (easy wrestling moves for self-defense at home)
- When to use it — practical scenarios
- Common counters — what to watch for
The 20 wrestling moves to master for self-defense
Without further ado, let’s jump right into our list:
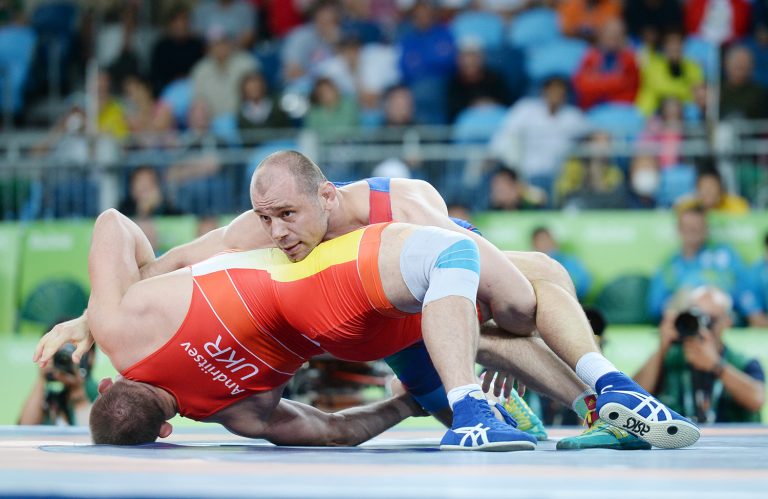
1 — Double-leg takedown (the workhorse)
How it works: Drop your level, step into your opponent’s lead leg, drive both shoulders into their thighs, clasp both legs, and keep driving past the knee while finishing with your hips and head.
Effectiveness: High. It’s a core takedown used at every level of wrestling and grappling because it attacks a structural weakness—two legs carrying the body—and forces balance to fail. Drill the penetration step, level change, and finish until the motion is smooth.
Drill:
- Solo: 3 sets of 10 penetration steps (knees bent, shoot step).
- Partner: Controlled live reps starting from slow to full speed—focus on getting the head position and hip drive correct.
When to use: In open spaces where you can close the distance without getting hit.
Counter to watch: If you overcommit, you may leave your back exposed if your opponent sprawls.
2 — Single-leg takedown (the space saver)
How it works: Drop level, trap one leg (ankle or just above the knee), secure, and off-balance the opponent by driving or lifting and circling.
Effectiveness: Very good in tight spaces. You don’t need as much room as a double, and it’s effective for smaller practitioners against bigger opponents when you use angles.
Drill:
- Solo: penetration steps and single-leg pickup mechanics against a couch or bag.
- Partner: live single-leg setups, transition to a double if they sprawl.
When to use: Crowded places or when you can’t commit to a big shot.
Common counter: Opponent sprawls or grabs underhooks—chain to a high single or back take.
3 — Sprawl (takedown defense that changes the fight)
How it works: As the opponent shoots, you kick your hips back and down, drive the chest toward their back, extend your legs, and push their shoulders past their legs. This ruins their angle and posture.
Effectiveness: Essential—stops leg attacks and offers immediate control to transition to strikes or front headlocks. Practice it until it’s reflexive. YouTube+1
Drill:
- Solo: 4 rounds of 20 sprawls (fast, explosive, rest 45–60 seconds).
- Partner: Live resistance: partner shoots, you sprawl and control the back.
When to use: When you see a leg shot coming. It buys you time and position for a counter.
4 — Body-lock takedown (wrap and dump)
How it works: Close range, wrap arms around the opponent’s torso (below armpits), control their hips, step or pivot, and dump them backward or to a side.
Effectiveness: Extremely useful in doorways or tight spaces where a big shot is impossible. Great for controlling movement, not for show.
Drill:
- Solo: hip pivots and bear-hug holds to feel the motion.
- Partner: body-lock entries with increasing resistance; focus on direction of the pivot and footwork.
When to use: Close-quarters, or to immediately shut down an aggressor’s striking range.
Counter to watch: If you don’t control the hips they can turn into you—use your head position and chest to control.
5 — Snap-down to front-headlock (posture control)
How it works: Snap the opponent’s head down to break posture, slide an arm under their chin, establish a front headlock, and use it to throw, spin, or secure a choke.
Effectiveness: Controls the opponent’s posture and can finish as a takedown or a submission. A front headlock chain is a high-percentage series in wrestling and grappling. Fanatic Wrestling
Drill: Snap-down reps with a band or partner; practice finishing to throws and guillotines from the headlock.
When to use: When you can get an initial head control—great if they’re pressing forward.
Counter to watch: Overreaching hands can allow them to create space—keep the grip tight.
6 — Duck-under (get behind them)
How it works: Snap their head or arm, step under their armpit (duck under), and pop up behind them to control the back and hips.
Effectiveness: Excellent for getting to the opponent’s back without a heavy takedown. It relies on timing and level change, not strength. Instructional coaches from elite programs teach duck-unders as a fundamental back-take. YouTube+1
Drill: Shadow duck-unders, then partner timing drills; work to secure both hooks or seatbelt once behind.
When to use: When your opponent overextends or leans forward.
Counter to watch: If you miss, you may wind up in front headlock or on the mat—use conservative entries at first.
7 — Hip toss / inside trip (leverage > force)
How it works: Secure an inside tie, hook your hip against theirs, rotate your body, and use your hip as the fulcrum to throw them over. In judo this is similar to o-goshi.
Effectiveness: High if timed with forward momentum. It uses minimal strength and gives you immediate top control after the throw. budodragon.com
Drill: Breakfalls, hip placement drills, and progressive throws with a cooperative partner.
When to use: Opponent pushes forward or when you can break their balance laterally.
Counter to watch: If your partner sprawl-steps, you may need to convert to a trip or switch to a body lock.
8 — Clinch & dump (control the center)
How it works: Secure underhooks, control the spine or belt line, shift their weight, and dump them off balance—often as a short, efficient takedown.
Effectiveness: Great for safety and for controlling space without throwing heavy strikes.
Drill: Pummeling drills, wall clinch, and controlled dump reps with partners.
When to use: In crowds, hallways, or to remove an assailant from your personal space.
Counter to watch: Failure to maintain underhooks lets them break posture—control the chest and hips.
9 — Fireman’s carry (over the shoulder)
How it works: Off their arm and collar tie, drop under, heave the attacker over one shoulder and control them on the ground. A classic that requires technical practice for safe application. YouTube+1
Drill: Start with lifts using a heavy bag, then move to cooperative partners. Emphasize safe breakfalls.
When to use: When you can lock the grip and your environment allows you to control the fall.
Counter to watch: Risk of injury to both if executed without practicing breakfalls—practice carefully.
10 — Russian tie (grip control and setup)
How it works: Control one of the opponent’s arms by grabbing behind the tricep/shoulder (the Russian tie) and use it to break posture or set takedowns.
Effectiveness: A control position that limits strikes and opens takedown pathways—useful in no-gi and self-defense scenarios.
Drill: Grip control sequences, then transition to single or double leg entries.
When to use: To stall, bait a reaction, or set up a takedown.
Counter to watch: If you overextend the arm you can expose your ribcage—keep compact.
11 — Ankle pick (fast, low, and subtle)
How it works: While holding upper control or a snap, reach to pick the opponent’s ankle and pull while driving into them to finish the takedown. It’s a favorite of elite leg-attack specialists. YouTube+1
Drill: Practice the timing off a level change or snap; solo penetration drills help groove the motion.
When to use: Quick surprise takedown in a scuffle.
Counter to watch: If you reach too wide you might expose your head—keep your posture tight.
12 — Double chicken wing to armbar (control over damage)
How it works: Trap both arms behind their back (double chicken wing), turn them, and isolate an arm for an armbar or to pin them for control. This is a restraint technique more than a knockout tool.
Effectiveness: Good for compliance and restraint.
Drill: Cooperative movement from standing to seated control, then isolation to the armbar.
When to use: When you want to neutralize someone without heavy striking (e.g., hold until help arrives).
Counter to watch: If you lose chest contact, they can turn—maintain chest pressure.
13 — Standing headlock / headlock takedown (old school, effective)
How it works: Apply a tight headlock and use the opponent’s posture to roll or sweep them to the ground while keeping control. The headlock creates instant control of breathing and posture.
Effectiveness: Very practical in short exchanges; law enforcement and grapplers use it for restraint. YouTube+1
Drill: Enter and exit headlock positions, then controlled takedowns and rolls.
When to use: In close ranges where you can’t or don’t want to strike.
14 — Clinch position control (deny strikes, direct motion)
How it works: Use underhooks, overhooks, frames, and head position to control posture and movement. The clinch is more position than a single move—it’s a toolset for defense and takedowns.
Effectiveness: Fantastic for survival; it denies striking space and creates options for takedowns or escapes.
Drill: Pummeling, wall clinch, and clinch walking.
When to use: Anytime you need to stall, move someone away, or prevent strikes.
15 — Escape from mount (bridge + shrimp)
How it works: Bridge explosively to unbalance the mounted opponent (trap an arm and roll, aka upa), or frame and shrimp to recover guard. These are core escapes taught across BJJ curricula. BJJ FanaticsBJJ TV
Effectiveness: Essential—if a fight goes to the ground, knowing mount escapes prevents a catastrophic loss of control.
Drill: Partner assists with mounting pressure; solo drills: bridges and hip-shrimp reps.
When to use: Whenever you end up pinned under the chest.
16 — Guard sweep (reversal from the bottom)
How it works: From closed or open guard, disrupt the opponent’s base with grips and hip movement, then use leverage to roll or sweep to top position. Effective sweep choices change depending on grips and posture. grapplearts.com
Effectiveness: Very effective for reversing a bad ground position—practice several sweep variations so you have options.
Drill: Chain sweep sequences with a cooperative partner, then add resistance.
17 — Triangle choke from guard (leg as a choke)
How it works: Trap the opponent’s head and arm with your legs, lock a triangle and compress to choke or control. The triangle is a fundamental, high-percentage submission in grappling. grapplearts.comBJJ Equipment
Effectiveness: Very effective—can force quick compliance while minimizing head trauma.
Drill: Break posture drills, leg angles, and finishing repetitions on compliant partners.
18 — Guillotine choke (fast neck control)
How it works: Wrap the arm under the opponent’s chin, secure your grip, and lift/arch to apply pressure. It’s one of the fastest chokes to secure when someone ducks their head. Many grappling coaches consider it a foundational front-headlock finish. Evolve MMANAGA Fighter
Effectiveness: Fast and reliable when the opponent’s head is exposed; not always a fight ender but good for compliance.
Drill: Grip mechanics, hip positioning, and finishing mechanics in partner drills.
19 — Side-control escape (frame, bridge, recover)
How it works: Use frames (forearm against neck/hip), bridge to create space, then shrimp to recover guard or stand. Repeated frames and hip movement free you from side control pressure. a4 Fitnessjiujitsulegacy.com
Effectiveness: Keeps you from being pinned and reduces damage while you work to escape.
Drill: Progressive partner pressure and incremental escapes.
20 — Wrist-control to armbar (isolate and finish)
How it works: Secure a wrist, torque to isolate the arm, then step to create the angle and slide into an armbar. Simple but effective; wrist control gives you leverage and safety.
Effectiveness: Good for quick compliance and control without heavy takedowns.
Drill: Wrist isolations, basic armbar mechanics from kneeling and standing.
Solo practice: easy wrestling moves for self defense at home
You can train lots of these moves without a partner. Here’s a safe, effective home routine focused on the long tail easy wrestling moves for self defense at home.
30-minute solo routine (3x per week):
- Warm-up (5 minutes): Jump rope or jog in place, dynamic hips and neck mobility.
- Level changes/penetration steps (10 minutes): 4 sets of 10 step-in shots.
- Sprawl conditioning (5 minutes): 4 rounds of 10 fast sprawls.
- Hip bridges & shrimping (5 minutes): 3 sets of 12 bridges, 3 sets of 10 hip-shrimp reps each side.
- Shadow clinch & duck-unders (5 minutes): Practice footwork in front of a mirror; use a broomstick for imaginary grips.
- Cool down & mobility (5 minutes).
These home drills for wrestling self defense build the coordination and hip strength your moves rely on. Add a heavy bag for single-leg pickup practice or a grappling dummy for guard and triangle drilling when you can.
Safety, legal notes, and training etiquette
- Train safely: Practice breakfalls and progressive resistance. Throws and takedowns need mats and supervision.
- Use force responsibly: Techniques here are for escape and safety, not escalation. Know local self-defense legal standards—excessive force can create legal problems.
- Get coaching: A certified instructor can correct small technical errors and keep you safe. If you’re training by yourself, start slow and film your reps to self-correct.
Equipment recommendations (quick)
- Basic: Mouthguard, knee pads, grappling shorts.
- Home: Heavy bag, grappling dummy, foldable mats.
- Optional: Resistance bands for snap-downs and sprawls, a PVC pipe for hip movement drills.
Replace these with affiliate links on mmamartial.com where appropriate (e.g., [mmamartial.com/wrestling-gear]).
Common training progressions (12-week plan)
A simple progression to turn these techniques into instincts:
Weeks 1–4: Fundamentals — stance, level change, sprawl, penetration steps, hip bridge/shrimp. Solo drills every other day, partner drills twice weekly.
Weeks 5–8: Add takedowns — double leg, single leg, ankle pick, duck-under, clinch work. Start slow, focus on posture and finish mechanics.
Weeks 9–12: Live flow — controlled situational sparring (e.g., one takedown per round), incorporate guard work, sweeps, and basic submissions (triangle, guillotine). Emphasize escapes (mount, side control).
This progression gives you wrestling takedown techniques for beginners and builds toward practical application.
FAQ — quick answers
Q: Which moves are best for small people vs. larger attackers?
A: Use low entries (single leg, ankle pick), trips, and hip tosses—leverage and angles beat raw power. Wrestling moves for small person against larger attacker should emphasize trips and clinch control.
Q: Can women use these moves effectively?
A: Absolutely—wrestling self defense techniques for women rely on leverage and posture more than size. Clinch, hip tosses, and ankle picks work particularly well.
Q: Are strikes ever useful with wrestling?
A: Yes — combine a clinch or a takedown with strikes to create openings, but prioritize control and escape. Training in a reputable self-defense class will teach safe, legal application.


